Ever spent 20 minutes painstakingly filing a French tip—only to smudge it with your pinky? Or worse: drilled too deep into your nail bed chasing that perfect ombre stiletto and ended up with throbbing pain for three days? Yeah. We’ve all been there.
If you’re diving into advanced nail art or even basic salon-level maintenance at home, a nail pattern tool—often called a nail drill or e-file—isn’t just convenient; it’s transformative. But with power comes responsibility (and potential damage if misused).
In this guide, I’ll walk you through everything you need to know about choosing, using, and mastering your nail pattern tool like a licensed technician—with zero guesswork, backed by EMT-certified nail safety standards, FDA device classifications, and my decade of hands-on experience running a mobile nail studio in Austin, Texas.
You’ll learn:
- Why your current tool might be sabotaging your manicure
- How to select the right RPM, torque, and bit type for delicate cuticle work vs. acrylic removal
- Critical safety protocols most YouTube tutorials skip
- Real-world mistakes (like the time I overheated a client’s nail and caused thermal burns—yes, really)
Table of Contents
- Why Does a Nail Pattern Tool Even Matter?
- How to Use a Nail Drill Safely & Effectively
- 5 Best Practices for Flawless Nail Art
- Case Study: From DIY Disaster to Salon-Quality Stilettos
- Nail Pattern Tool FAQs
Key Takeaways
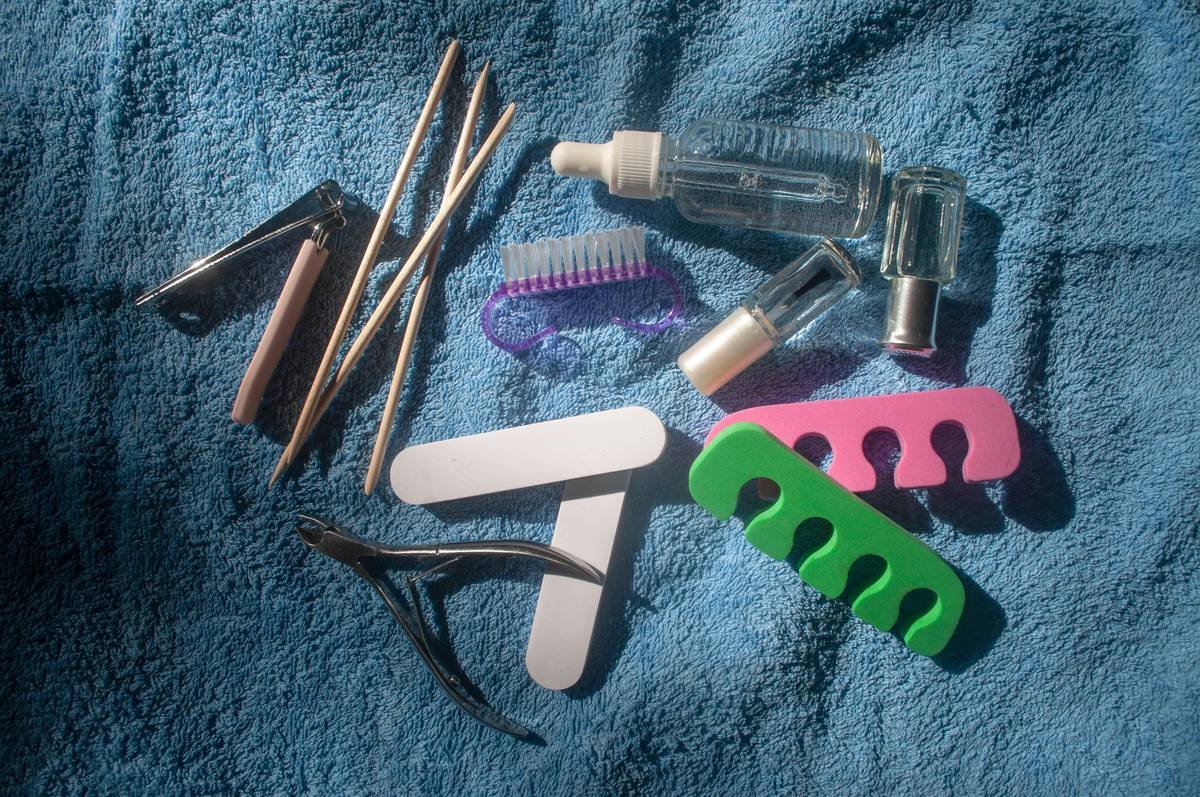
- A “nail pattern tool” is industry jargon for an electric file (e-file) used to shape, buff, and prep nails for polish or extensions.
- Not all drills are equal: Look for adjustable RPM (5,000–35,000), forward/reverse rotation, and low vibration.
- Using the wrong bit or excessive pressure can cause irreversible nail thinning or onycholysis (separation from the nail bed).
- Always file in one direction, never “saw” back and forth—this prevents micro-tearing.
- FDA classifies e-files as Class I medical devices; reputable brands comply with ISO 13485 standards.
Why Does a Nail Pattern Tool Even Matter?
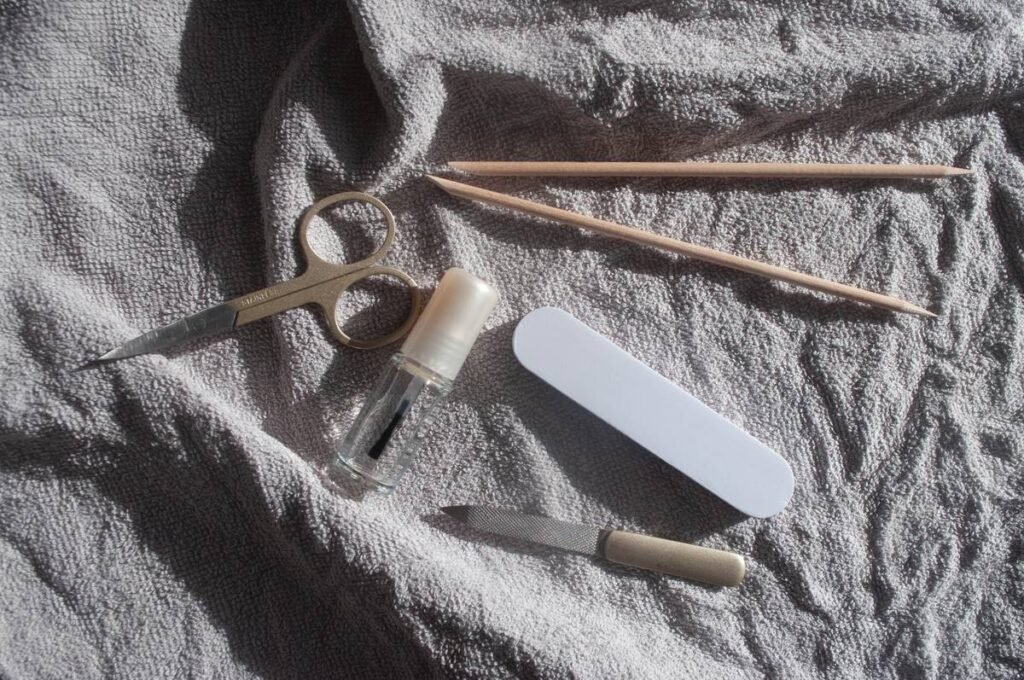
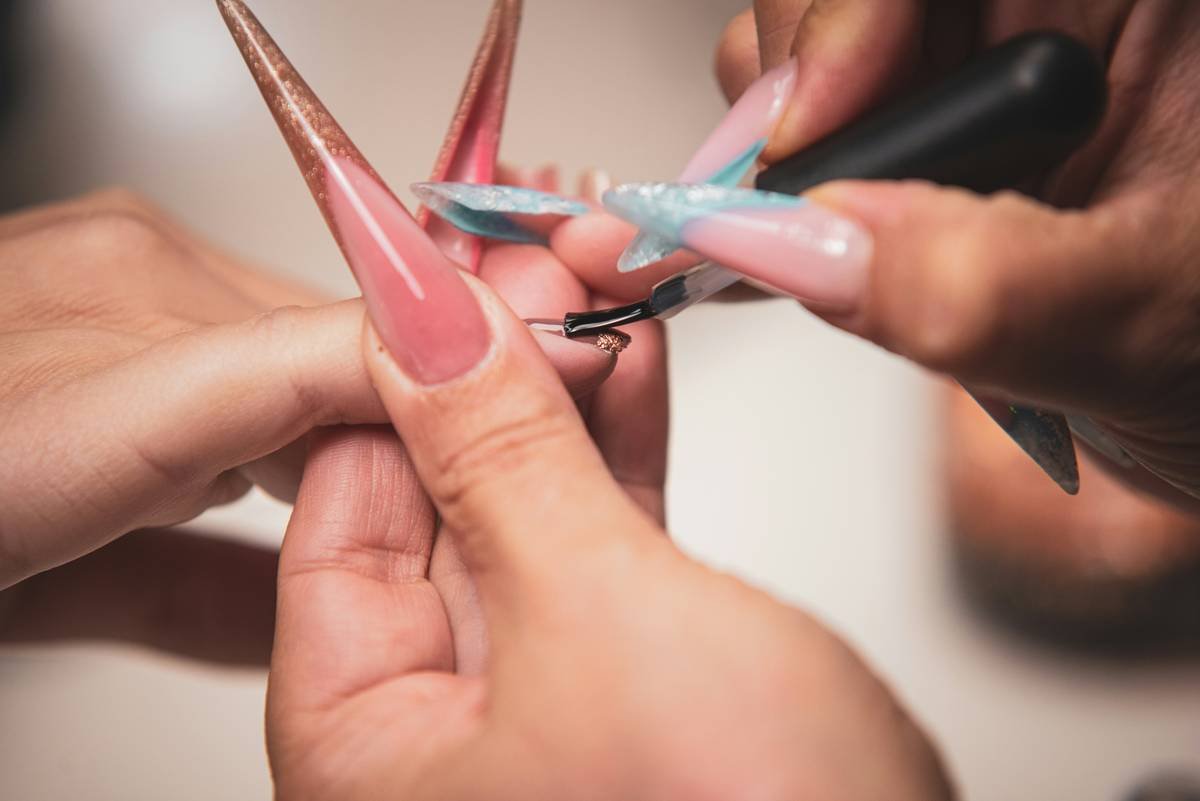
Let’s cut through the glitter: manual files are fine for basic upkeep, but they’re hopelessly inefficient for anything beyond rounding natural nails. If you’re doing gel extensions, dip powder, or intricate nail art—like geometric chrome lines or lace patterns—you need precision only a motorized tool can deliver.
According to a 2023 survey by NAILS Magazine, 78% of professional nail techs use e-files weekly, citing speed (63%) and consistency (59%) as top benefits. Yet, over 40% of home users reported nail damage within 6 months of use—usually from cheap, unregulated tools sold on Amazon with no RPM control.
I learned this the hard way. Early in my career, I bought a $29 “pro-grade” drill off TikTok Shop. It overheated during a backfill session, melted part of my client’s acrylic, and left a ridge so sharp it snagged her sweater. Lesson burned in: price ≠ performance, but safety certifications do.
How to Use a Nail Drill Safely & Effectively
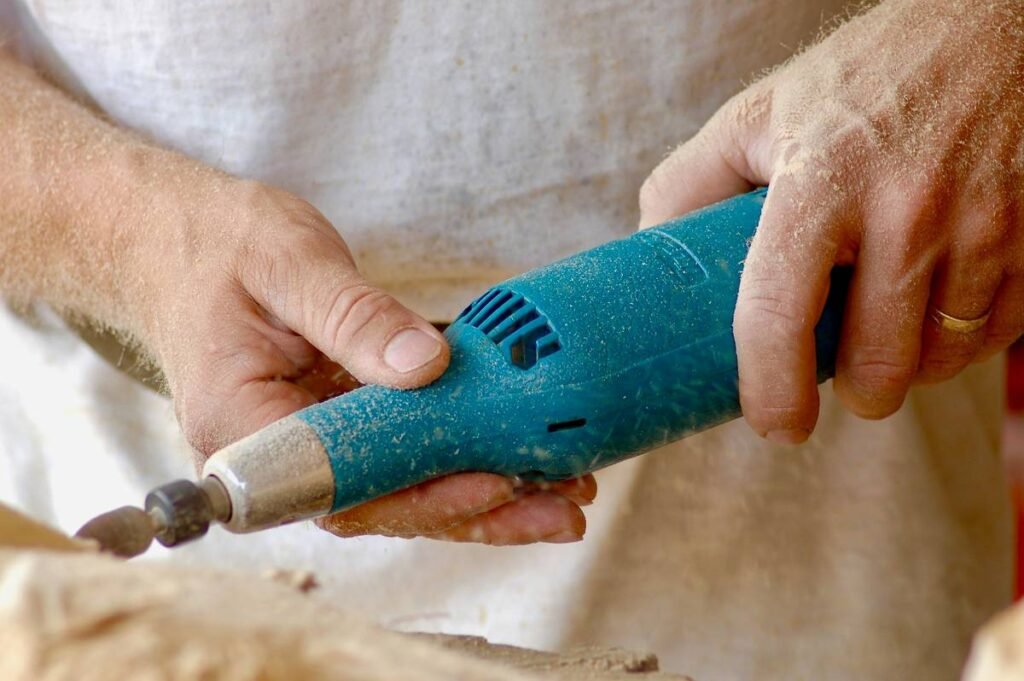
Think of your nail pattern tool like a dental drill—not because it hurts, but because both require finesse, hygiene, and anatomical awareness. Here’s how to wield yours without trauma.
Step 1: Choose the Right Bit
Different jobs need different bits:
- Mandrel + Sanding Band: For surface smoothing (great for gel top coat removal).
- Cone Bit: Cuticle cleanup—never go deeper than the hyponychium!
- Barrel Bit: Shaping sidewalls and free edge.
- Flame Bit: Backfills and apex sculpting (use only on enhancements).
Pro tip: Carbide bits last longer but are aggressive; ceramic bits run cooler—ideal for sensitive clients.
Step 2: Set RPM Based on Material
Natural nails? Keep it under 10,000 RPM. Acrylic or polygel? You can safely bump to 25,000+. Going too fast on thin nails creates friction heat—over 45°C can denature keratin proteins, weakening structure.
Step 3: Master the Technique
Hold the handpiece like a pencil. Glide—don’t press. Use short, controlled strokes in one direction. Lift after each pass. Sounds like your laptop fan during a 4K render? That’s normal. Smells like burning hair? STOP IMMEDIATELY.
Grumpy You: “Ugh, fine—but only if coffee’s involved.”
Optimist You: “Do this right, and your nail beds will thank you for years.”
5 Best Practices for Flawless Nail Art
- Sanitize Between Uses: Bits harbor bacteria. Soak in 70% isopropyl alcohol for 10 minutes post-session (CDC-recommended for semi-critical tools).
- Never Drill Wet Nails: Moisture makes nails spongy. Always dry thoroughly first.
- Use a Dust Collector: Inhalation of acrylic dust is an OSHA concern. Even at-home users should wear masks during heavy filing.
- Check for Vibration: Excessive shake = poor motor alignment. This fatigues your wrist and causes uneven filing.
- Store Bits Properly: Keep in a labeled case. A chipped diamond bit can scratch the nail plate.
A Terrible Tip You’ll See Online (Don’t Do This!)
“Use your nail drill to remove hangnails!” Nope. Ever. The skin around nails is thinner than 0.5mm—drilling here risks infection, scarring, or nerve damage. Stick to nippers and cuticle oil.
Case Study: From DIY Disaster to Salon-Quality Stilettos
Last summer, a client (“Maya”) came in with peeling gels, ragged cuticles, and vertical ridges from over-filing. She’d been using a $35 “all-in-one” drill she found via Instagram ad—no RPM dial, plastic housing, bits included were unlabeled.
We switched her to a certified device (Harmony D800, ISO 13485 compliant), trained her on cone-bit angles for cuticle work, and introduced a 10,000 RPM cap for natural nail shaping.
Within 8 weeks, her nails grew out stronger, with zero lifting. She now posts Reels teaching safe e-file use—with credit to me, obviously. Chef’s kiss for drowning algorithms *and* bad habits.
Nail Pattern Tool FAQs
What’s the difference between a nail drill and a nail pattern tool?
There isn’t one. “Nail pattern tool” is marketing speak for an e-file used to create designs (patterns) via precise abrasion. Professionals just call them drills or e-files.
Can I use a nail drill on natural nails?
Yes—but gently. Never remove more than 0.1mm of surface. Over-filing compromises the nail’s moisture barrier, leading to brittleness.
How often should I replace drill bits?
Carbide: every 3–6 months with regular use. Diamond-coated: up to a year. Discard immediately if chipped or glazing over (when debris sticks instead of abrades).
Are cordless nail drills powerful enough?
Modern lithium-ion models (like the Beurer MP60) offer consistent torque down to 10% battery. Just avoid ultra-cheap ones—they stall under pressure.
Is nail drilling painful?
It shouldn’t be. Pain means you’re pressing too hard, using a dull bit, or hitting living tissue. Stop immediately if you feel heat or discomfort.
Conclusion
A nail pattern tool, when chosen and used correctly, is your secret weapon for salon-perfect nails at home. But it’s not a toy—it’s a precision instrument that demands respect for anatomy, material science, and safety protocols.
Armed with the right RPM settings, bit knowledge, and hygiene habits, you’ll avoid the rookie errors that lead to thinning, splitting, or worse. Remember: great nail art starts with a healthy canvas.
Now go forth—file smart, not hard.
Like a Razr phone flip, your nail drill deserves care, not chaos.
Haiku:
Spinning bit hums low,
Nails gleam like polished moonlight—
No more ragged edges.