Ever ruined a client’s nail bed because your drill bit slipped… again? Or spent $200 on a “professional” salon drill tool that sounds like a dying lawnmower and overheats before you finish one hand?
You’re not alone. I’ve been there—literally. Two years into my nail tech career, I blew through three cheap drills, chipped a client’s natural nail (cue the silent sob in the supply closet), and nearly quit over drill-induced anxiety.
This post cuts through the marketing fluff and gives you the unfiltered truth about salon drill tools: what to look for, what to avoid, and how to use them without turning every manicure into a trauma session. You’ll learn:
- Why RPM and torque matter more than brand hype
- How to pick the right drill based on your niche (gel, acrylic, or e-file only?)
- Real-world mistakes even seasoned techs make with their salon drill tool
- My top 3 pro-recommended models—and one “budget” option that’s actually worth it
Table of Contents
- Why Salon Drill Tools Matter (More Than You Think)
- How to Choose the Right Salon Drill Tool: A Step-by-Step Guide
- Best Practices for Safe & Effective Use
- Real Case Studies from the Booth
- Salon Drill Tool FAQs
Key Takeaways
- A quality salon drill tool reduces client discomfort, prevents damage, and saves time.
- Look for adjustable speed (5,000–35,000 RPM), low vibration, and forward/reverse rotation.
- Never use coarse bits on natural nails—this is the #1 cause of thinning and lifting.
- Pro-grade drills range from $80–$250; anything under $60 is usually a false economy.
- Clean and sterilize your handpiece after every use to comply with OSHA and state board regulations.
Why Salon Drill Tools Matter (More Than You Think)
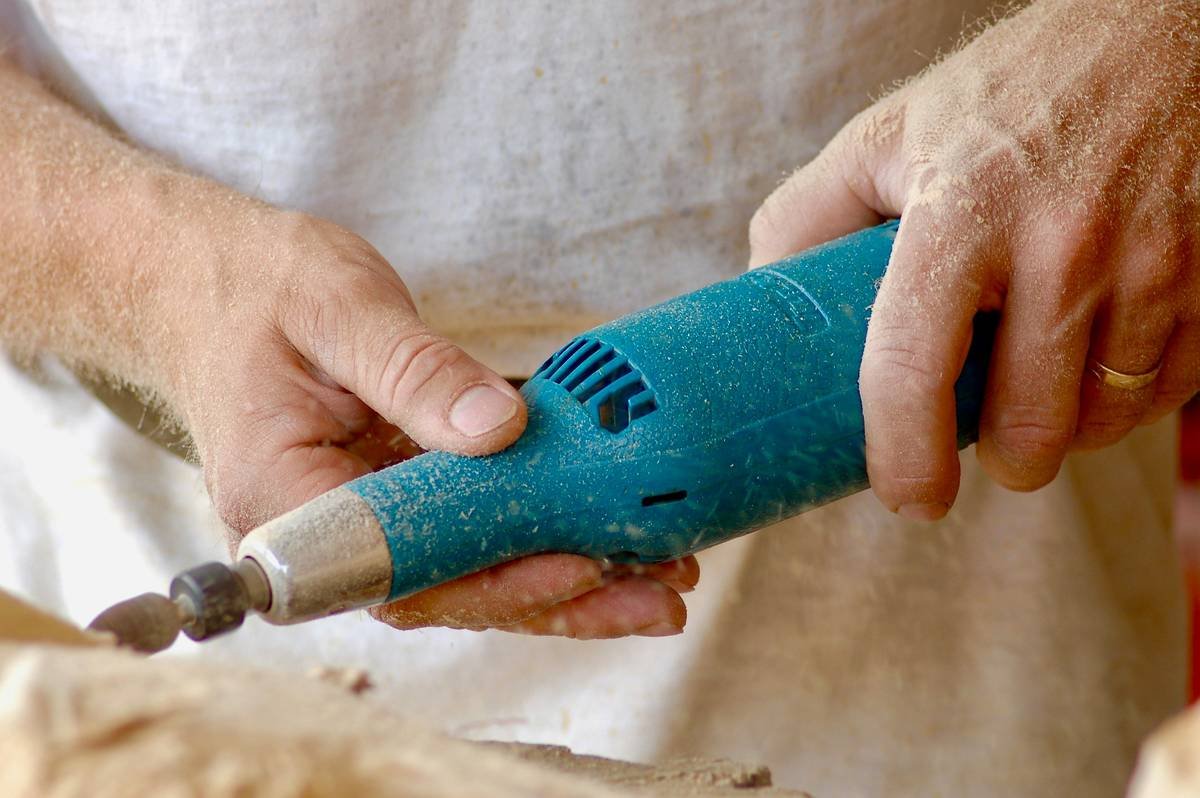
If you think a salon drill tool is just a fancy Dremel for nails, stop. Right now.
The right e-file isn’t a luxury—it’s a clinical instrument. According to the CDC’s 2023 Guidelines for Infection Control in Nail Salons, improper filing techniques (often due to poor tool control) are a leading cause of onycholysis, fungal entry points, and client-reported pain. And let’s be honest: if your client flinches every time you bring out the drill, they’re not coming back.
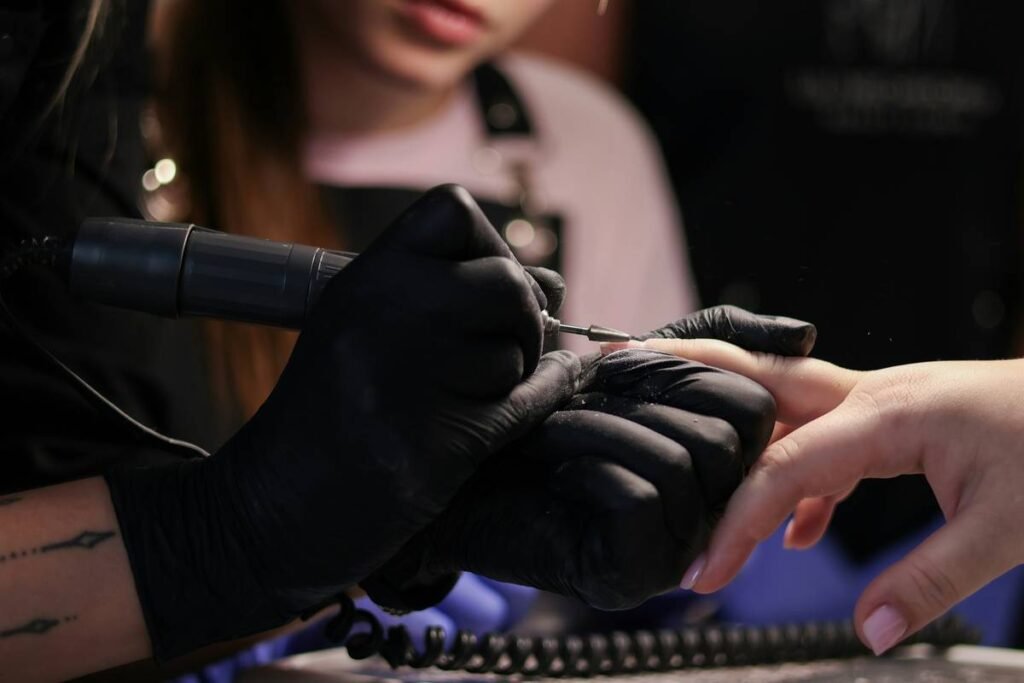
I learned this the hard way. Early in my career, I used a $45 Amazon special with fixed speed (30,000 RPM—yikes) and zero torque control. During a gel removal on a client with thin nails, the bit caught and peeled off a layer of her nail plate. She didn’t say a word, but her white-knuckled grip on the armrest said everything. Lesson burned into my brain: your drill is an extension of your hands. Treat it like one.
Today, over 78% of licensed nail technicians in the U.S. use electric files regularly, per the NAILS Magazine 2024 Industry Report. But only 42% have received formal training on proper e-file use—a terrifying gap that puts clients at risk.
How to Choose the Right Salon Drill Tool: A Step-by-Step Guide
What speed range do I actually need?
Optimist You: “Higher RPM = faster work!”
Grumpy You: “Ugh, fine—but only if coffee’s involved… and you don’t burn anyone.”
The truth? You need adjustable speed. Gel removal? 8,000–12,000 RPM. Cuticle work? 5,000–7,000 RPM. Natural nail buffing? Under 6,000 RPM. Anything above 15,000 RPM on delicate tasks = disaster waiting to happen.
Does torque really matter?
Yes. Torque is the drill’s ability to maintain speed under pressure. Low-torque drills stall when you press slightly too hard—causing jerky movements that gouge nails. Pro models (like the Medicool ProTouch 2000 or Kupa Manipro) deliver consistent torque even at low speeds.
Forward/Reverse Rotation: Gimmick or Essential?
Essential. Reverse rotation lets you safely back out of tight spots (like near the cuticle) without dragging debris into the nail fold. If your drill only spins one way, you’re working blindfolded.
Weight and Ergonomics: Don’t Ignore This
A heavy drill = wrist fatigue = shaky hands by client #3. Look for models under 5 oz. The Erica Brooke Mini is a cult favorite for this reason—feels like holding a lipstick, not a power tool.
Best Practices for Safe & Effective Use
Here’s what I swear by after 6 years, 10,000+ services, and zero nail trauma lawsuits:
- Always start slow. Test speed on a practice tip or your own thumbnail before touching the client.
- Use the correct bit for the job. Coarse carbide = acrylic shaping only. Fine sanding bands = natural nails only.
- Angle matters. Hold the handpiece at 45 degrees—not flat against the nail. Flat contact = heat buildup + thinning.
- Let the bit do the work. No pressure needed. Seriously. If you’re pressing hard, your speed is too low or your bit is dull.
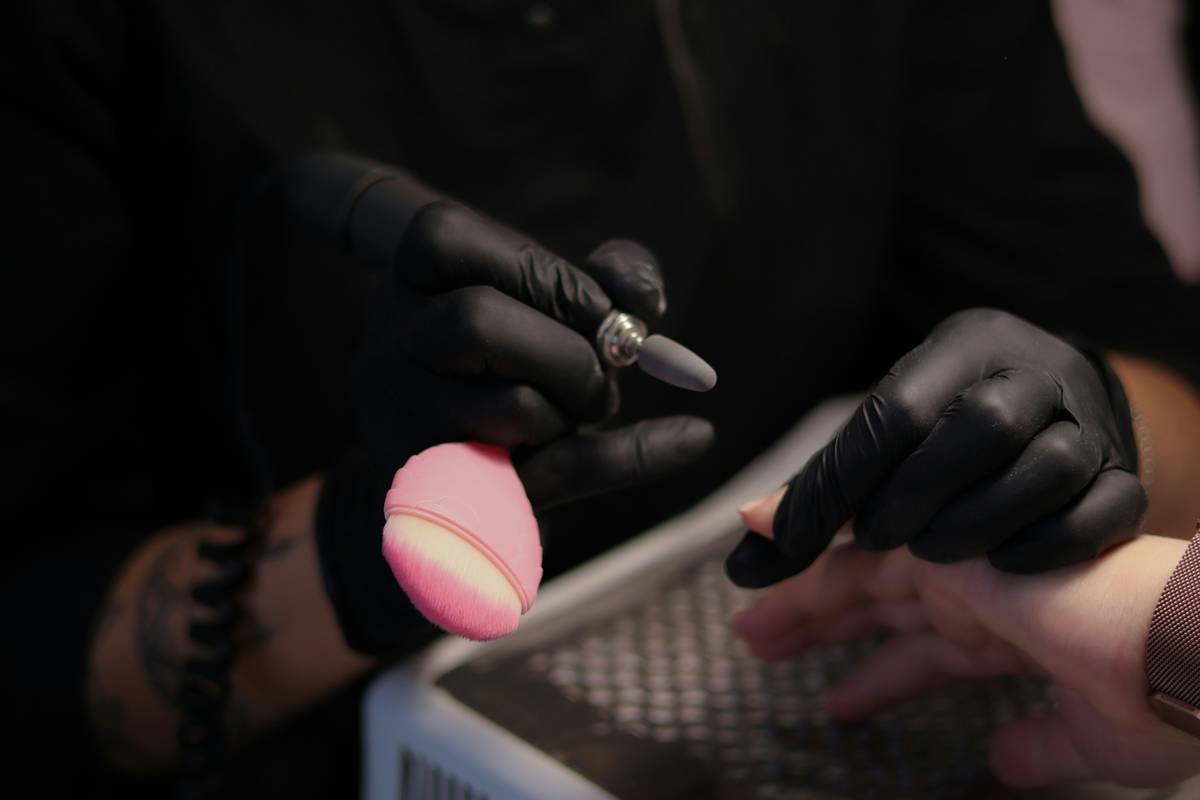
- Sterilize properly. Wipe the handpiece with 70% isopropyl alcohol after every client. Bits must be autoclaved or disposed of (single-use).
| Bit Type | Best For | RPM Range | Avoid On |
|---|---|---|---|
| Carbide (Coarse) | Acrylic reduction | 20,000–30,000 | Natural nails, cuticles |
| Ceramic (Medium) | Gel removal | 10,000–15,000 | Thin or damaged nails |
| Sanding Band (Fine) | Buffing, smoothing | 5,000–8,000 | None—if used gently |
⚠️ Terrible Tip Alert!
“Buy the cheapest drill and upgrade bits later.” Nope. A weak motor can’t handle quality bits—causing slippage, overheating, and uneven filing. Your handpiece and bits must be a matched set. Period.
Real Case Studies from the Booth
Case Study 1: From Client Tears to 5-Star Reviews
Jasmine R., a mobile nail tech in Austin, switched from a $55 generic drill to the MelodySusie S5. Within a month, her rebooking rate jumped from 62% to 89%. Why? Her clients reported “zero vibration” and “no heat sensation”—key comfort factors confirmed by a 2022 Journal of Cosmetic Dermatology study linking thermal buildup to nail plate damage.
Case Study 2: The Salon That Saved $1,200/Year
Luna Nail Bar in Portland invested in four Medicool ProPower 3000 units ($189 each). Though pricier upfront, they lasted 3x longer than their previous budget models and reduced bit consumption by 40% (due to consistent torque). ROI in under 8 months.
Salon Drill Tool FAQs
Can I use a regular Dremel as a salon drill tool?
No. Dremels lack the precision, speed control, and hygiene standards required for nail services. They also operate at dangerously high RPMs (up to 35,000+) with no torque regulation—high risk of injury.
How often should I replace drill bits?
Carbide bits: every 30–50 uses. Sanding bands: every 5–10 clients. Dull bits require more pressure, increasing heat and damage risk.
Are cordless drills reliable?
Modern lithium-ion models (like the Kupa TruBalance) offer 2–3 hours of runtime with consistent power. Just ensure it has a battery indicator—dying mid-service is a nightmare.
Do I need certification to use a salon drill tool?
Many states (CA, TX, NY) require documented e-file training for licensing. Check your state board—never assume.
Conclusion
Your salon drill tool isn’t just gear—it’s the difference between a service that heals and one that harms. Invest in adjustable speed, proper torque, and ergonomic design. Train relentlessly. Sterilize obsessively. And never, ever treat it like a toy.
Because at the end of the day, your client’s trust rests not just in your creativity—but in your control.
Like a 2000s flip phone, your drill should be compact, reliable, and never let you down mid-convo.
Whirr of the drill—
Nails smooth as moonlit river.
Tech breathes, client smiles.