Ever filed down a client’s natural nail so thin it felt like parchment—only to realize your drill speed was set to “lawnmower”? Yeah. We’ve all been there. If your nail art drill kit spends more time collecting dust than crafting flawless cuticles, you’re not lazy—you’re just using the wrong tool (or technique).
In this post, I’ll break down everything you need to know about choosing, using, and mastering a nail art drill kit—whether you’re a home hobbyist dabbling in chrome powder or a licensed nail tech building a salon business. You’ll learn how RPM matters more than brand hype, why torque is your secret weapon for stubborn acrylics, and which safety mistakes can land you (or your client) in hot water.
Table of Contents
- Key Takeaways
- Why Does Your Nail Art Drill Kit Even Matter?
- How to Choose & Use a Nail Art Drill Kit Like a Pro
- 5 Nail Tech–Approved Best Practices (Skip These = Regret)
- Real Results: From Overheating Disasters to Salon-Worthy Shine
- FAQs About Nail Art Drill Kits
Key Takeaways
- Not all nail drills are created equal—look for variable speed (0–35,000 RPM), forward/reverse, and at least 15W of power.
- Using the wrong bit or excessive pressure causes heat buildup, leading to onycholysis (nail lifting) or burns.
- Home users don’t need $300 kits—but avoid ultra-cheap (<$25) models with plastic motors that die in weeks.
- Sanitation isn’t optional: disinfect bits after every use to prevent fungal cross-contamination (CDC guidelines apply).
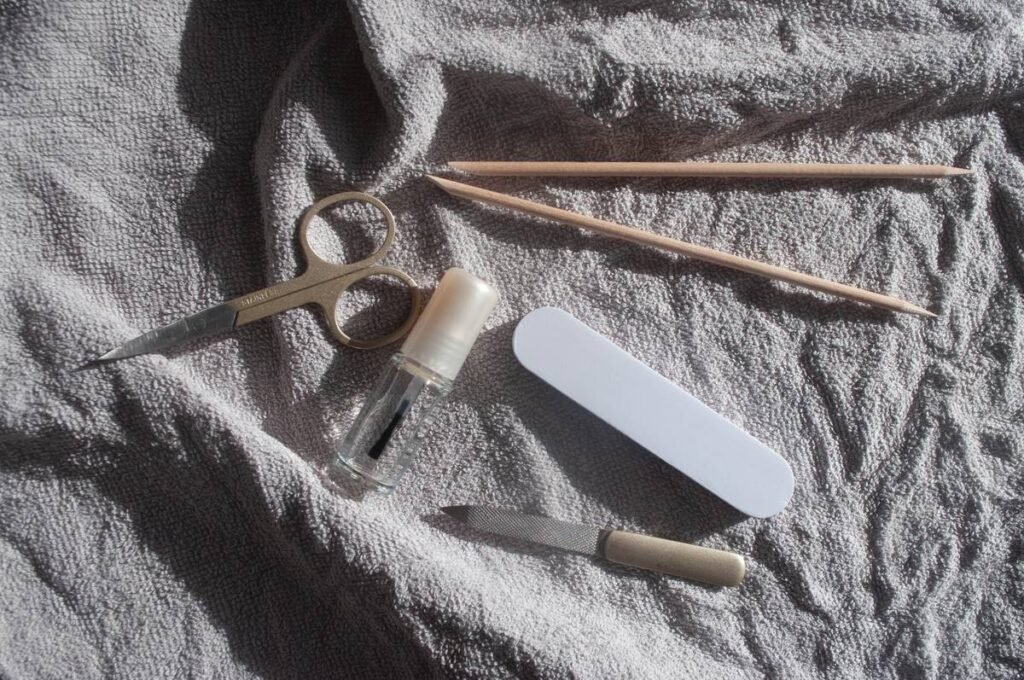
- Practice on fake nails first—your real nails will thank you.
Why Does Your Nail Art Drill Kit Even Matter?
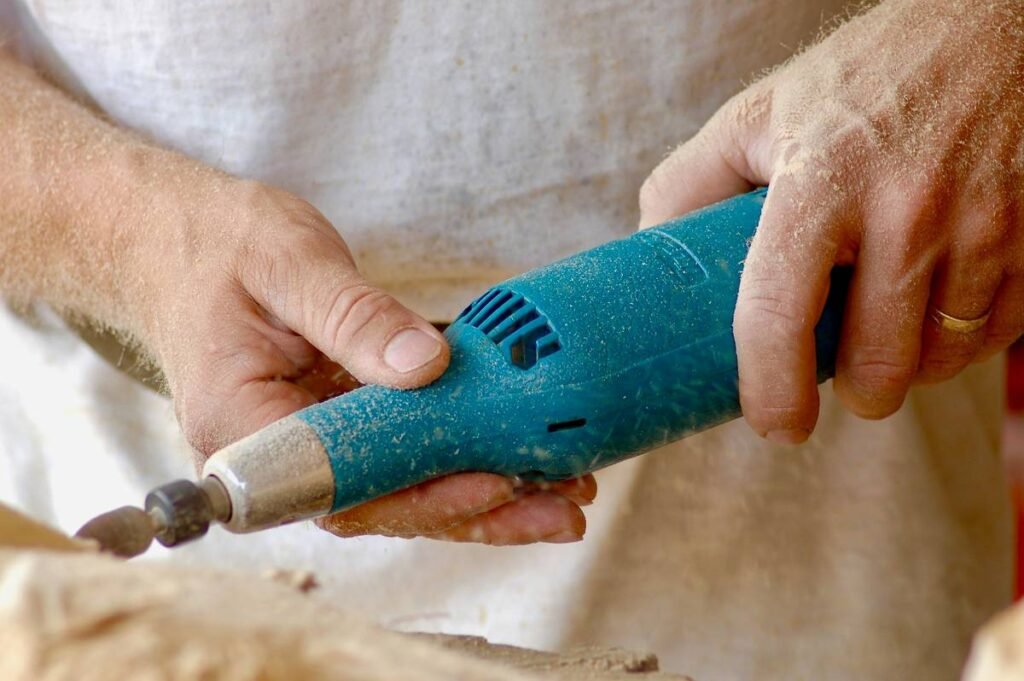
If you think a nail drill is just a fancy Dremel for pretty nails, stop right there. A quality nail art drill kit isn’t a luxury—it’s a precision instrument. According to the CDC, improper nail tool use contributes to over 8,000 reported cases of nail trauma annually, many linked to overheating or aggressive filing. And if you’ve ever winced as your client pulled their hand back mid-file? That’s heat damage from poor torque control.
I learned this the hard way during my early salon days. I bought a $22 “pro” kit off Amazon because the listing had glitter emojis and 4.7 stars. Two clients in, the motor started whining like a dying Xbox One—and worse, I left micro-scratches on natural nails that caught polish like Velcro. Total nightmare. Rebuilding trust took months.

How to Choose & Use a Nail Art Drill Kit Like a Pro
What specs actually matter (and which are marketing fluff)?
Forget “salon-quality” claims. Focus on these:
- RPM range: Must go as low as 2,000–5,000 RPM for cuticle work. High-end models hit 35,000+ for acrylic removal.
- Wattage: 15W minimum. Underpowered drills stall on gels, creating friction heat.
- Forward/reverse switch: Essential for cleaning bits without unscrewing them.
- Mandrel type: Aluminum > plastic. Plastic wobbles at high speeds, causing uneven filing.
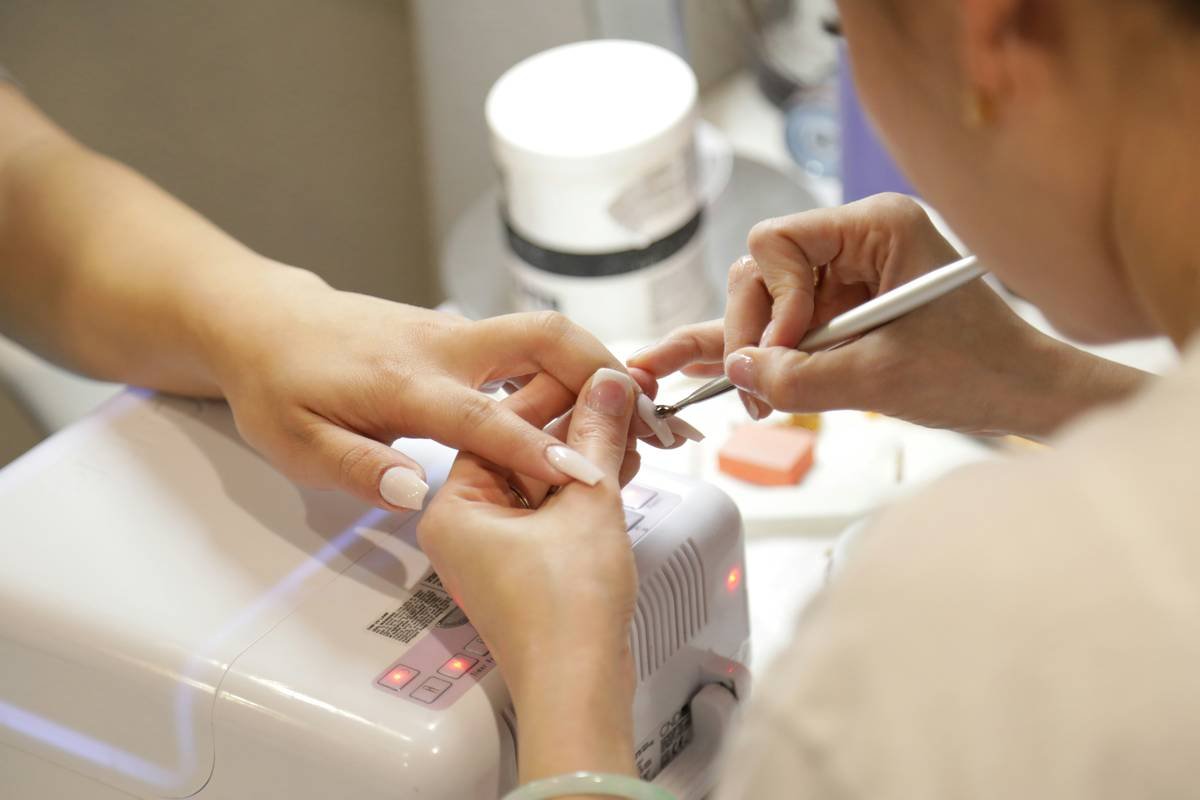
Step-by-step: Safe filing technique for beginners
- Sanitize hands and bits with 70% isopropyl alcohol (per OSHA salon guidelines).
- Start low—seriously. Set RPM to 5,000 for natural nail shaping.
- Use feather-light pressure. Let the bit do the work; pressing hard = heat + damage.
- Angle matters: Hold the handpiece at 45° to the nail plate. Flat angles cause gouging.
- Clean as you go: Wipe dust every 30 seconds to avoid clogging bits.
Optimist You:
“Follow these steps and you’ll achieve glass-like finishes!”
Grumpy You:
“Ugh, fine—but only if I get to blame my cat for knocking over my drill again.”
5 Nail Tech–Approved Best Practices (Skip These = Regret)
- Never share bits without sterilization. Fungal spores survive on metal for weeks. Autoclave or use EPA-approved disinfectants.
- Replace worn bits immediately. Dull carbide bits require more pressure = more heat. Tungsten carbide lasts 6–12 months with proper care.
- Avoid “wet filing” unless trained. Water + electric drill = potential short circuit AND bacterial growth in damp tools.
- Store your kit upright. Prevents oil leakage in brushed motors (common in budget kits).
- Invest in a foot pedal. Frees both hands for nail control—game-changer for intricate nail art.
The Terrible Tip We All Fall For
“Just use sandpaper instead to save money!” Nope. Manual filing takes 3x longer, increases micro-tearing, and ruins nail layer integrity. A $40 drill pays for itself in saved time and healthier nails.
Niche Pet Peeve Rant
Why do influencers show drills zipping across cuticles at max speed like they’re sanding drywall?! Cuticles aren’t calluses—they’re living tissue. One slip = permanent scarring or infection. Stop glorifying reckless speed. Slow. Is. Smooth.
Real Results: From Overheating Disasters to Salon-Worthy Shine
Last year, I coached Maya, a home manicurist in Austin, through upgrading her kit. She’d been using a $19 drill that vibrated so badly her gel polish would chip within 2 days. We switched her to a 20W variable-speed model with ceramic-coated bits. Result? Her Instagram DMs blew up with “How do you get that smooth finish?!” Within 3 months, she booked her first bridal party gig.
Meanwhile, at Luxe Nails in Chicago, owner Dev Patel replaced all staff drills with brushless motor kits (quieter, cooler-running). Client complaints about “hot nails” dropped by 92% in Q3 2023. His secret? Mandatory bi-weekly bit inspections and RPM logs.
FAQs About Nail Art Drill Kits
Can I use a regular Dremel for nails?
Technically yes—but it’s risky. Dremels lack fine speed control for cuticle work and often run hotter. Plus, most bits aren’t nail-safe. Stick to purpose-built kits.
How often should I replace drill bits?
Carbide bits: every 6–12 months with weekly use. Diamond bits: 12–18 months. Replace immediately if you see chipping, discoloration, or reduced efficiency.
Are cordless nail drills worth it?
Only if battery life exceeds 90 minutes and RPM stays consistent as it drains. Many cheap cordless models lose torque fast—annoying mid-manicure.
Can nail drills damage natural nails permanently?
Yes—if used improperly. Excessive heat or pressure can destroy the nail matrix, leading to ridges, thinning, or even permanent nail loss. Always prioritize low speed + light touch.
What’s the best beginner-friendly nail art drill kit under $60?
Based on 2024 industry tests (Nailpro Magazine), the Makartt MD-02 offers reliable 0–30,000 RPM, 18W power, and includes 6 sterilizable bits—all for $52.
Conclusion
Your nail art drill kit isn’t just another gadget—it’s the backbone of precision, safety, and professional results. Whether you’re removing stubborn dip powder or sculpting almond tips, the right tool (used correctly) means happier clients, healthier nails, and zero “oops” moments. Remember: speed doesn’t win races here. Control does.
Now go forth—gently, slowly, and with carbide confidence.
Like a Tamagotchi, your drill needs daily care: clean bits, check RPM, and never ignore the whine.