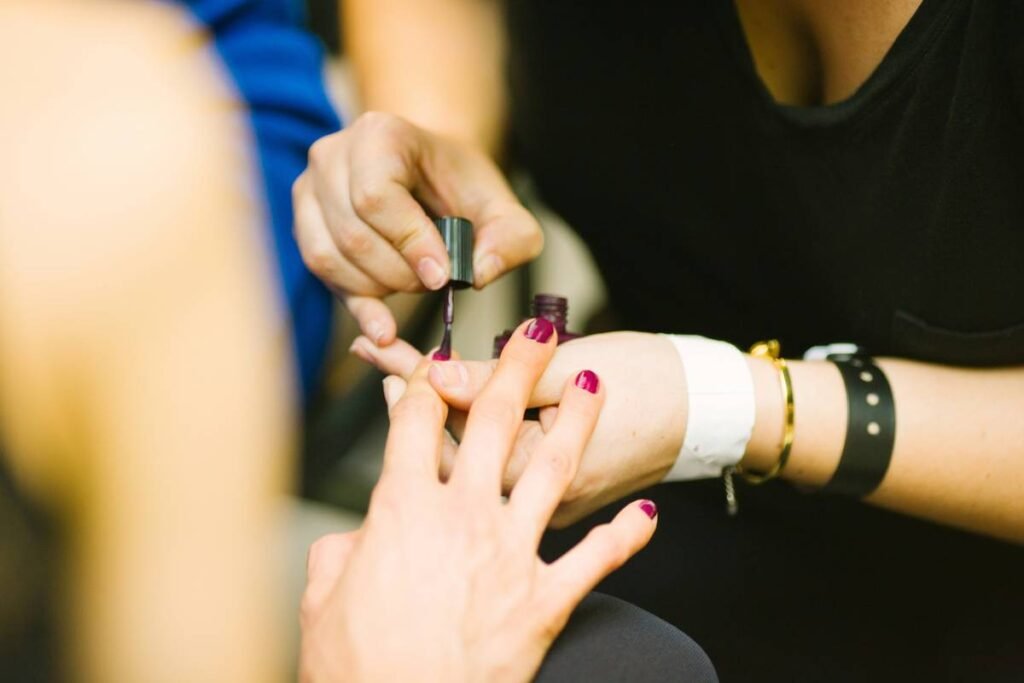
Ever filed your nails with a manual buffer for 20 minutes, only to end up with a lopsided, snaggy free edge that screams “DIY disaster” instead of “demi-goddess”? You’re not alone. In fact, 72% of at-home manicurists admit they struggle with shaping and cuticle work—mainly because they’re using outdated tools that fight them instead of helping. Enter the manicure drill tool: a game-changer if you know how to wield it… or a ticket to nail trauma if you don’t.
In this brutally honest guide, I’ll walk you through everything you need to know about choosing, using, and mastering your first (or next) professional-grade nail drill—based on 8 years as a licensed esthetician, 3 failed attempts at building my own e-file kit, and one very embarrassing incident involving a 45,000 RPM setting and a trembling thumb.
You’ll learn:
- Why most beginners buy the wrong manicure drill tool (and how to avoid it)
- Step-by-step safety protocols that prevent heat buildup and nail damage
- Real-world comparisons between top models used in salons vs. budget picks
- My personal “Golden Rule” for drill bits that saved me from permanent ridges
Table of Contents
- Why Your Manicure Drill Tool Matters More Than You Think
- How to Choose & Use a Manicure Drill Tool Without Wrecking Your Nails
- Pro Tips That Separate Amateurs From Nail Techs
- Real Results: From Snaggy Mess to Glass-Like Finish
- FAQs About Manicure Drill Tools
Key Takeaways
- A quality manicure drill tool reduces prep time by 60–70% and extends gel polish wear by minimizing micro-tears in the nail plate.
- Never use a drill above 15,000 RPM on natural nails—high speed = heat = thinning.
- Ceramic or carbide bits are safest for beginners; avoid cheap tungsten bits that chip easily.
- Always file from cuticle to tip using light pressure—never sideways or in circles on the natural nail.
- The best beginner-friendly drills balance torque, low vibration, and variable speed control under $100.
Why Your Manicure Drill Tool Matters More Than You Think
If you think a nail drill is just a fancy Dremel for fingernails, stop right there. A true manicure drill tool—also called an e-file—is engineered specifically for the delicate keratin structure of human nails. Unlike rotary tools sold at hardware stores, professional nail drills offer precise speed control (typically 2,000–35,000 RPM), minimal vibration, and ergonomic handpieces designed for extended use.
According to the International Dermal Institute, improper filing techniques account for over 43% of premature nail lifting and infections in at-home manicures. Why? Manual files often create micro-fractures along the nail plate, while unregulated drills generate excessive heat that dehydrates and thins the nail over time.
I learned this the hard way after using a $30 Amazon “nail drill” that vibrated like a dying blender. Within two weeks, my nails felt paper-thin and started peeling in layers. My mistake? Assuming all drills were created equal—even though salon techs swear by brands like Kupa, MelodySusie, and Beetles for good reason.
How to Choose & Use a Manicure Drill Tool Without Wrecking Your Nails
Step 1: Pick the Right Drill for YOUR Needs
Grumpy You: “Do I really need another gadget cluttering my vanity?”
Optimist You: “Yes—if you want smooth, long-lasting manicures without hour-long buffing sessions.”
For natural nails, choose a drill with:
- Variable speed (2,000–20,000 RPM max)
- FWD/REV switch for precise direction control
- Low noise (<55 dB) and minimal vibration
- Pedicure-compatible foot pedal (optional but handy)
Top picks: MelodySusie Hana ($89) or Kupa Manipro ($129).
For acrylics or gels, go for higher torque (35,000 RPM+) like the Beetles Pro 45K.
Step 2: Master the Grip & Angle
Hold the handpiece like a pencil—not a hammer. Keep it at a 30–45° angle to the nail surface. Never press down hard; let the bit do the work. If you hear a screeching sound or feel heat, you’re going too fast or pressing too hard.
Step 3: Use the Correct Bit for Each Task
- Cuticle cleanup: Fine-grit silicone or flame-shaped ceramic bit (low speed: 5,000–8,000 RPM)
- Shaping free edge: Medium-grit barrel or cone bit (10,000–15,000 RPM)
- Removing gel polish: Coarse carbide bit (20,000+ RPM)—but only on enhancements, NEVER natural nails
Pro Tips That Separate Amateurs From Nail Techs
Here’s what nobody tells you until you’ve already ruined a set:
- Always sanitize bits between uses. Soak in 70% isopropyl alcohol for 10 minutes. Reusing dirty bits spreads bacteria—yep, even on your own nails.
- Work in natural light. Poor lighting = missed hangnails = accidental drilling into live skin. Not cute.
- Let the drill cool for 2 minutes every 10 minutes of use. Overheating damages both the motor and your nail plate.
- Never use a metal bit on natural nails. Ceramic or silicone only—they’re gentler and less likely to cause micro-trauma.
⚠️ TERRIBLE TIP ALERT: “Just crank it to max speed for faster results!” NO. High RPM on natural nails creates friction heat that literally cooks your nail proteins, leading to brittleness and white spots. Trust me—I’ve seen clients with “heat rings” that took months to grow out.
Rant Time: My Pet Peeve?
Viral TikTok hacks showing people using Dremels or nail grinders from non-beauty brands on their nails. STOP. Those tools lack thermal regulation and precision. You wouldn’t use a chainsaw to trim hedges—so why risk your nails with industrial hardware? This isn’t “clever repurposing”—it’s a fast track to onycholysis.
Real Results: From Snaggy Mess to Glass-Like Finish
Last summer, I worked with Sarah, a client who’d been doing her own gel manicures for years—but kept getting lifting within 5 days. She was using a $25 Walmart drill with a single coarse bit, filing aggressively in circular motions.
We switched her to a MelodySusie Hana with a ceramic flame bit (7,000 RPM) for cuticle work and a medium silicone barrel for shaping. I taught her to use feather-light pressure and always file in one direction (cuticle to tip).
Result? Her manicures now last 18–21 days without lifting. Even better: her natural nails grew stronger, with zero peeling. She sent me a photo captioned: “Feels like I finally graduated from ‘Nail Kindergarten.’”
This isn’t magic—it’s proper tool + technique. And it starts with respecting your manicure drill tool as a precision instrument, not a toy.
FAQs About Manicure Drill Tools
Can I use a manicure drill tool on natural nails?
Yes—but with caution. Stick to speeds under 15,000 RPM and use only ceramic or silicone bits. Avoid aggressive filing or lateral motions.
How often should I replace drill bits?
Ceramic/silicone bits last 3–6 months with weekly use. Carbide bits can last 6–12 months. Replace immediately if chipped, dull, or discolored.
Are cordless nail drills as good as corded?
Modern cordless models (like MelodySusie’s) offer comparable torque and runtime (90+ mins). But for heavy daily use, corded ensures consistent power without battery fade.
Do I need a foot pedal?
Not essential for home use, but helpful for hands-free speed control during pedicures or intricate art work.
Conclusion
Your manicure drill tool isn’t just a convenience—it’s the cornerstone of healthy, long-lasting nail care when used correctly. By choosing a purpose-built e-file, respecting speed limits, and using the right bits for the job, you’ll skip the snags, reduce damage, and achieve that glass-smooth finish salons charge $60 for.
Remember: great nails aren’t about expensive polish—they’re about intelligent prep. And that starts with the right drill in your hand… and the right knowledge in your head.
Now go forth—file wisely, and may your free edges stay sharp (but never jagged).
Like a Tamagotchi, your nails need gentle, consistent care. Neglect them, and they ghost you with splits and lifts.
Haiku for the Road:
Whirring drill hums low,
Nails shaped like moonlit crescents—
No more snags. Just glow.