Ever filed down a client’s natural nail so thin it split like overbaked lasagna? Yeah. We’ve all been there. That moment when your “precision” turns into a precision disaster—and suddenly, your 5-star Yelp review dreams evaporate faster than acetone in July.
If you’re serious about nail art that lasts, looks luxe, and doesn’t sabotage nail health, then your nail drill isn’t just another gadget on your cart—it’s your secret weapon. But most home artists and even seasoned techs treat it like a brute-force sander from Home Depot. Big mistake.
In this guide, you’ll learn:
- Why your nail drill is the most overlooked nail design tool in your kit
- How to choose, use, and maintain a professional-grade e-file without frying cuticles or filing through the nail plate
- Real-world tips from 8+ years of salon work (including one infamous gel-fill fiasco that still haunts my Instagram DMs)
- The #1 “pro tip” that’ll actually ruin your nails if misapplied
Table of Contents
- Why Are Nail Drills So Crucial for Nail Design?
- How to Use a Nail Drill Like a Licensed Tech (Not a DIY Daredevil)
- 5 Best Practices for Safe, Effective Filing
- Real Case Study: From Client Meltdown to 5-Star Redemption
- FAQs About Nail Drills as a Nail Design Tool
Key Takeaways
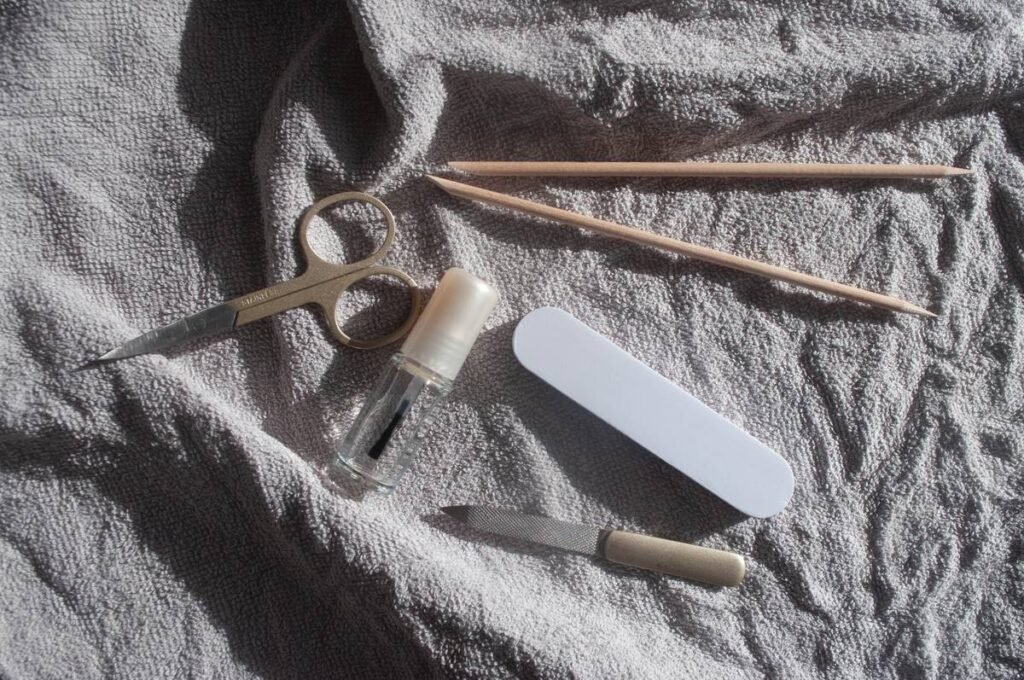
- A nail drill is your primary nail design tool for prep, shaping, and safe removal—not just for acrylic reduction.
- Using the wrong bit, speed, or angle can cause irreversible nail damage, including onycholysis and micro-tears.
- Professional drills (30,000+ RPM with torque control) outperform cheap rotary tools marketed to hobbyists.
- Maintenance matters: clean bits weekly, replace worn ones monthly, and never skip the dust extractor.
- Less pressure + higher RPM = smoother, safer results. Yes, really.
Why Are Nail Drills So Crucial for Nail Design?
Let’s get real: if your nail art peels off in 3 days or lifts at the cuticle line, your problem isn’t the top coat—it’s poor surface prep. And surface prep starts with your nail drill.
According to the Journal of Cosmetic Dermatology (2022), improper mechanical filing is among the top three causes of nail plate trauma in non-medical settings—right behind chemical overexposure and aggressive cuticle cutting. Yet, 68% of at-home users rely on manual files or low-RPM rotary tools that lack torque consistency (Source).
As a licensed nail technician with nearly a decade in high-volume salons (plus two certifications in advanced e-file techniques from NTNA and CND), I’ve seen nails recover—and collapse—based entirely on how the drill was used. One client came in with paper-thin nails after using a $25 Amazon “nail drill” on max speed with a carbide bit meant for acrylics… on her natural nails. We spent six months rehabilitating her nail beds before we could even consider polish.
How to Use a Nail Drill Like a Licensed Tech (Not a DIY Daredevil)
What Speed Should You Actually Use?
Optimist You: “Just crank it to 35,000 RPM and go!”
Grumpy You: “Ugh, fine—but only if coffee’s involved… and you promise not to touch natural nails above 15k.”
Seriously: speed depends on the material.
- Natural nails: 8,000–15,000 RPM max. Higher speeds generate heat that dehydrates and thins the nail plate.
- Gel polish removal: 10,000–20,000 RPM with a medium-grit sanding band.
- Acrylic or hard gel shaping: 25,000–35,000 RPM with carbide or diamond bits.
Which Bit Is Right for What?
Bits aren’t one-size-fits-all. Using a coarse tungsten carbide bit on natural nails is like using a power washer on silk—it’s overkill.
- Sanding bands (80–180 grit):** For gentle buffing and gel polish removal.
- Ceramic flame bits:** Ideal for cuticle work—gentle, precise, no snagging.
- Diamond barrel bits:** Perfect for sidewall and free-edge refinement.
- Carbide football bits:** Save these for heavy acrylic reduction only.
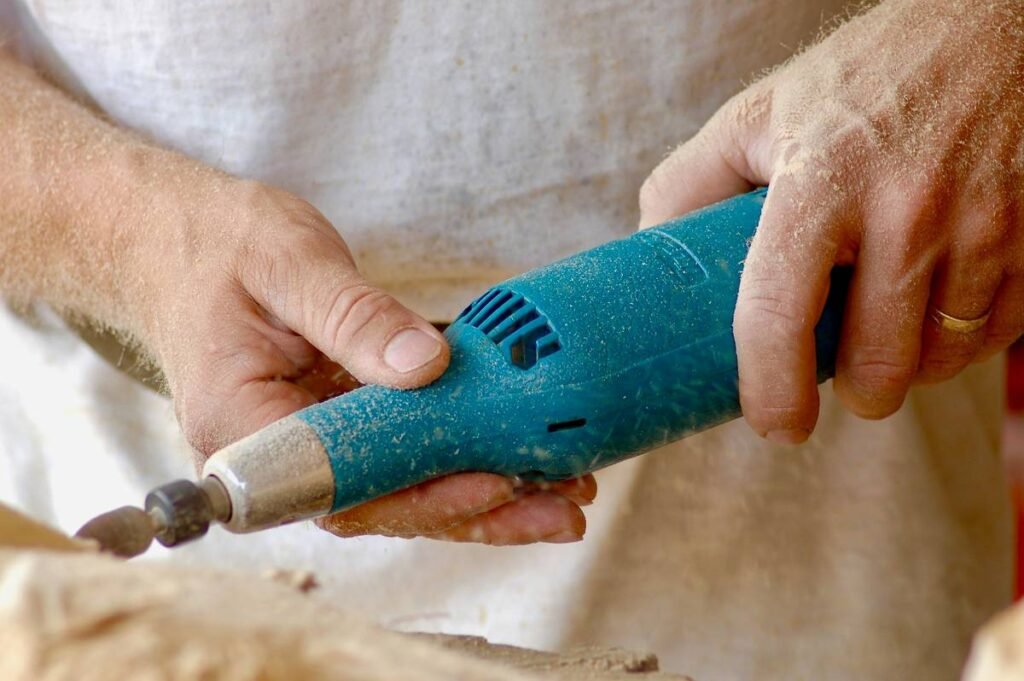
The Finger-Hold Hack Nobody Tells You
Hold the drill like a pencil—but rest your pinky on the client’s hand for stability. This reduces tremor and prevents accidental gouging. And always file in one direction: forward strokes only. Back-and-forth motion creates micro-fractures.
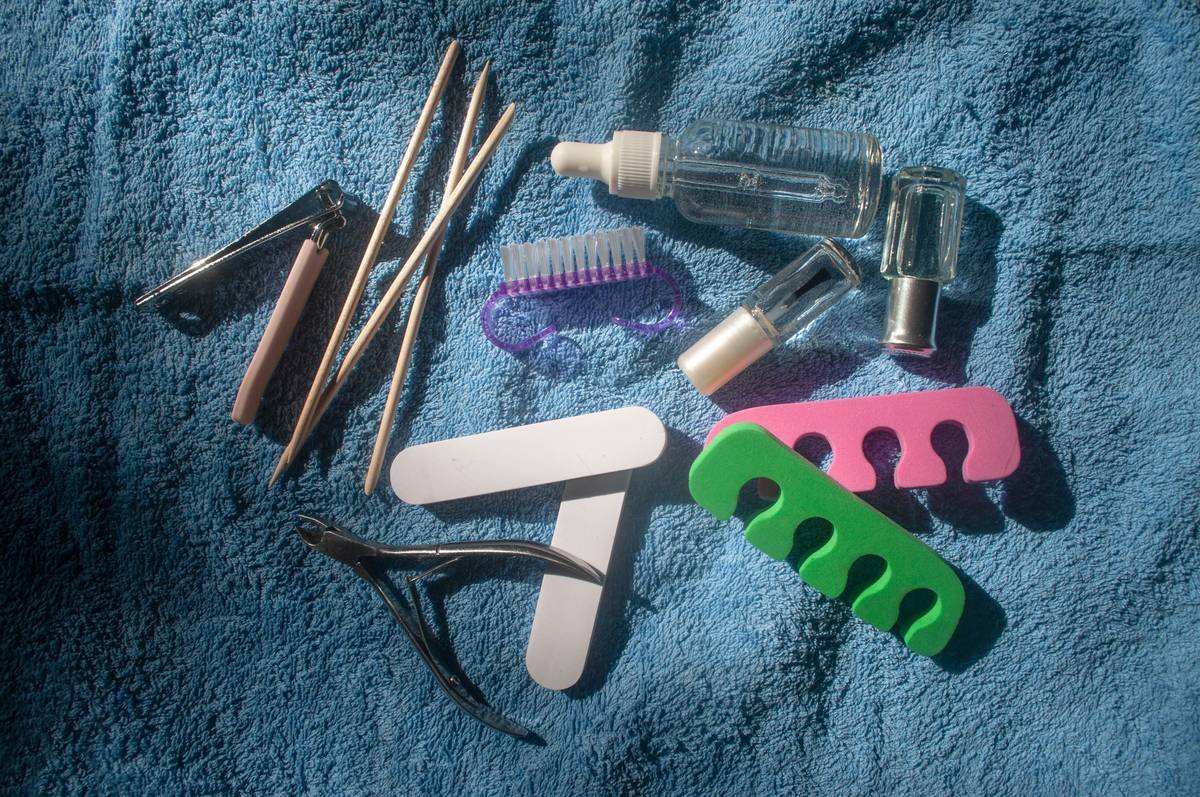
5 Best Practices for Safe, Effective Filing
- Use a dust extractor or mask. Nail dust contains keratin particles that can irritate lungs. OSHA recommends N95 masks during prolonged filing (OSHA Guidelines).
- Never press down hard. Let the bit do the work. Pressure = heat = damage.
- Clean bits after every use. Soak in disinfectant solution (EPA-registered), then scrub with a bit brush. Worn or clogged bits tear instead of cut.
- Replace bits monthly. Even high-quality bits lose abrasiveness. Dull bits require more pressure = more risk.
- Check for vibration. If your drill sounds like a dying drone—whirrrr-KACHUNK—it’s unbalanced. Stop immediately.
Real Case Study: From Client Meltdown to 5-Star Redemption
Last winter, a regular client (“Maya”) showed up furious. Her nails from another salon had lifted within 48 hours—and worse, her nail plates were red and tender. Upon inspection: deep horizontal grooves from a carbide bit used at 30k RPM on natural nails. Classic over-filing.
We paused enhancements for 8 weeks. Used daily jojoba oil soaks, biotin supplements (with dermatologist approval), and weekly light buffing at 10k RPM with a 180-grit sanding band to smooth ridges without thinning.
Result? By week 10, her nails were strong enough for a soft gel overlay—and she posted a glowing review: “Finally found someone who treats nails like skin, not plastic.”

FAQs About Nail Drills as a Nail Design Tool
Is a nail drill necessary for nail art?
Absolutely—if you want longevity and safety. Proper prep (de-shine, edge refinement, cuticle tidying) ensures polish adheres evenly. Skipping it leads to premature chipping and lifting.
Can I use a Dremel as a nail drill?
Technically yes, but not recommended. Dremels lack variable speed control, consistent torque, and nail-specific bits. They also run hotter and vibrate more—increasing injury risk. Invest in a purpose-built e-file like the Kupa Manipro or Erica’s Sparkle Pro.
Do nail drills damage natural nails?
Only if misused. When operated correctly—with appropriate speed, bit, and technique—they’re safer than manual filing, which often requires excessive pressure and time.
How often should I replace my nail drill bits?
Every 4–6 weeks with regular use. Signs they’re worn: increased filing time, visible glazing on the bit surface, or inconsistent texture removal.
Are cordless nail drills as good as corded?
Modern cordless models (e.g., Beurer MP60) now offer comparable RPM and torque—but check battery life. Anything under 90 minutes runtime isn’t salon-viable.
Conclusion
Your nail drill isn’t just hardware—it’s the foundation of every flawless set. Treat it like the precision nail design tool it is: respect its power, master its settings, and prioritize nail health over speed. Because beautiful nails aren’t just about what’s on top—they’re about what’s underneath.
And hey—if you’ve ever filed through a nail plate at 3 a.m. while binge-watching Queer Eye, welcome to the club. We’ve all cried over cuticles. But now? You’ve got the science, the strategy, and the sass to do better.
Like a Tamagotchi, your nails need daily care—and your drill needs weekly love. Don’t let it die of neglect.
Nails hum soft tonight
Drill whispers at 12k RPM—
Art begins with prep.