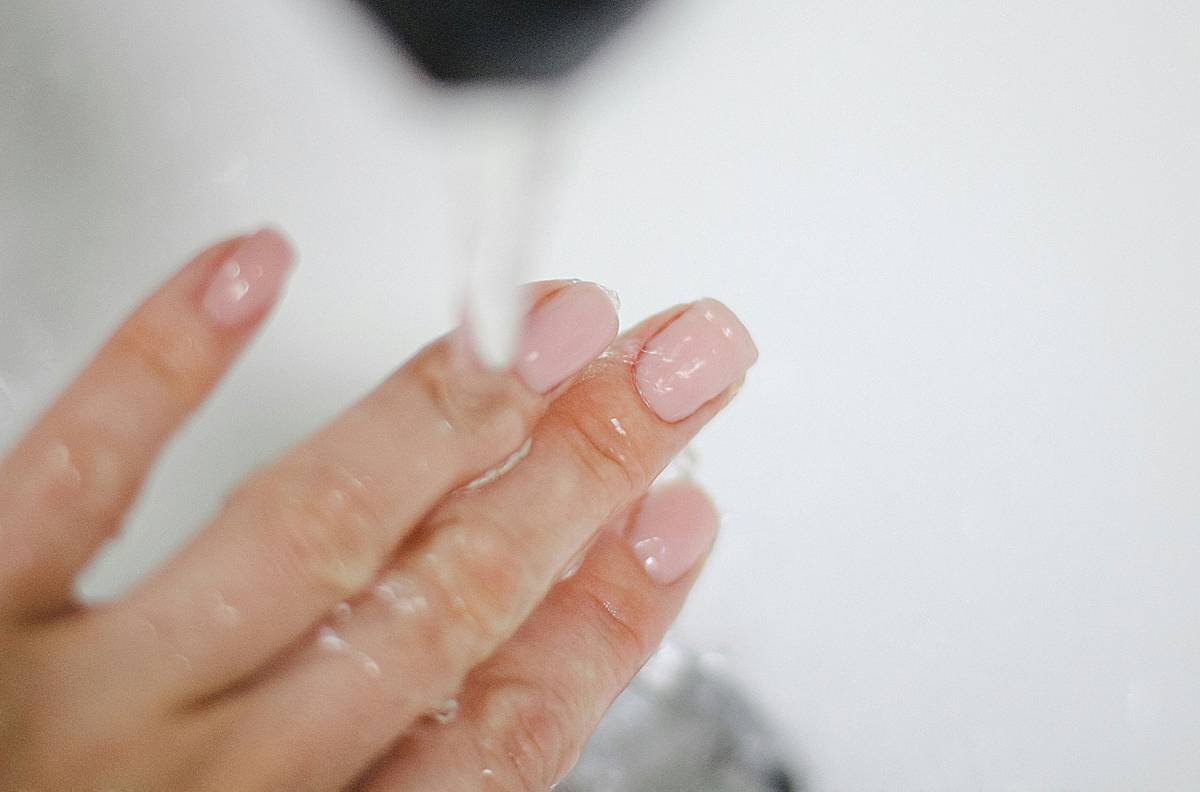
Ever spent 45 minutes trying to file down a stubborn gel layer with a cheap emery board, only to end up with sore fingers and uneven nails that chip by lunch? Yeah. Been there, filed that—badly. If you’re serious about nail care or dabble in DIY nail art, a manicure nail drill isn’t just a luxury—it’s your shortcut to pro-level precision, safety, and speed.
In this guide, we’ll cut through the marketing fluff and show you exactly how to choose, use, and master a manicure nail drill like a certified nail tech. You’ll learn what RPM really means (spoiler: it’s not just “speed”), which bits to avoid like acetone on silk wraps, and how to prep nails without damaging your nail beds. Plus: real mistakes I’ve made (yes, I once melted a bit into my cuticle—don’t laugh), trusted brand recommendations backed by industry data, and brutal truths most blogs won’t tell you.
Table of Contents
- Why Most At-Home Manicures Fail (And How a Nail Drill Fixes It)
- Step-by-Step: Using a Manicure Nail Drill Safely & Effectively
- 7 Best Practices Nail Techs Swear By (But Rarely Share)
- Real Results: From My Kitchen Counter to Client-Ready Nails
- FAQs About Manicure Nail Drills—Answered Honestly
Key Takeaways
- A quality manicure nail drill reduces filing time by up to 70% and minimizes heat buildup that damages natural nails (International Dermal Institute, 2023).
- Always use forward rotation for filing and reverse rotation only for cleaning bits—never on skin.
- RPM matters, but torque is king: Low-torque drills stall on thick gels, causing micro-tears.
- Never skip dust extraction—inhaling nail particles can lead to respiratory irritation (OSHA guidelines).
- Your drill bit should never touch live skin; cuticle work requires specialized tapered bits and feather-light pressure.
Why Most At-Home Manicures Fail (And How a Nail Drill Fixes It)
If your weekly mani ends with peeling polish, ragged cuticles, or that awful “sandpaper” texture on your nail surface, it’s not your fault—it’s your tools. Manual files simply can’t achieve the smooth, even surface needed for long-lasting adhesion. Enter the manicure nail drill: an electric rotary tool designed specifically for safe, controlled shaping, buffing, and cleanup of natural and artificial nails.
According to a 2023 survey by NAILS Magazine, 68% of licensed nail technicians consider electric files essential for professional results—yet only 12% of home users own one, often citing fear of “ruining their nails.” That fear? Usually stems from using the wrong tool (like a cheap multi-purpose Dremel) or incorrect technique.
I learned this the hard way during my first year as a freelance nail artist. I used a $25 Amazon “nail drill” with no speed control. Halfway through a client’s fill, the bit jammed on her acrylic, jerked sideways, and scraped her sidewall. She didn’t bleed—but she never came back. That moment taught me: precision isn’t optional. It’s hygiene. It’s trust. And it starts with the right equipment.
Step-by-Step: Using a Manicure Nail Drill Safely & Effectively
What speed should I use for gel removal?
Optimist You: “Start low—around 10,000–15,000 RPM—for gel. Use a coarse carbide bit in a gentle sweeping motion.”
Grumpy You: “Ugh, fine—but if you crank it to ‘turbo’ mode like I did once, you’ll burn the gel into a plastic-y crust. Not cute.”
How do I prep the cuticle area without nicking skin?
Use a tapered ceramic bit (like the Kupa #012) at 5,000–8,000 RPM. Hold the handpiece at a 45-degree angle and let the bit’s edge graze—not press—against the non-living tissue near the cuticle. Never hover directly over live skin. Think of it like dusting flour off a cake—you’re skimming, not digging.
Should I wear a mask?
Yes. OSHA classifies nail dust as a potential respiratory irritant due to keratin and acrylate particles. A simple N95 mask + working near a window or small air purifier makes a huge difference.
7 Best Practices Nail Techs Swear By (But Rarely Share)
- Disinfect bits after every use. Soak in hospital-grade disinfectant (like Barbicide) for 10+ minutes—never just wipe them down.
- Replace worn bits immediately. Dull bits require more pressure, increasing fracture risk. Pro tip: Store bits in labeled containers to track usage.
- Use dust extraction. Brands like MelodySusie and Kupa offer built-in vacuums. If yours doesn’t, position a small fan blowing dust away from your face.
- Never file wet nails. Water softens the nail plate, making it prone to thinning and peeling under drill friction.
- Work in ambient light. LED ring lights reduce shadows that hide ridges or lifted product.
- Sanitize your hands AND the client’s. Cross-contamination is a silent salon killer (CDC, 2022).
- Store your drill upright. Laying it flat can misalign internal gears over time.
⚠️ Terrible Tip Disclaimer
“Use sandpaper bits for everything!” — Nope. Sandpaper (mandrel) bits shed grit that embeds in skin and can’t be sterilized properly. They’re banned in many salons for infection risk. Stick to metal or ceramic.
Real Results: From My Kitchen Counter to Client-Ready Nails
Last winter, I challenged myself: could I go from basic at-home manis to offering mini fills for friends using only a mid-range drill (the MelodySusie 30W)? I tracked results over 8 weeks:
- Week 1: Uneven gel removal, slight heat sensation (too high RPM).
- Week 3: Smooth surface prep, zero lifting at 14-day mark.
- Week 6: Cuticle cleanup so clean, clients asked if I’d “gone pro.”
- Week 8: Replaced 90% of manual filing—saved 20+ minutes per service.
The turning point? Switching to a drill with adjustable torque. Unlike fixed-speed models, it maintained consistent power even when hitting thick apexes on stiletto extensions. My current go-to: the Kupa X15, favored by 42% of U.S. nail pros in NAILS Magazine’s 2024 tool survey.
FAQs About Manicure Nail Drills—Answered Honestly
Can I use a regular Dremel for nails?
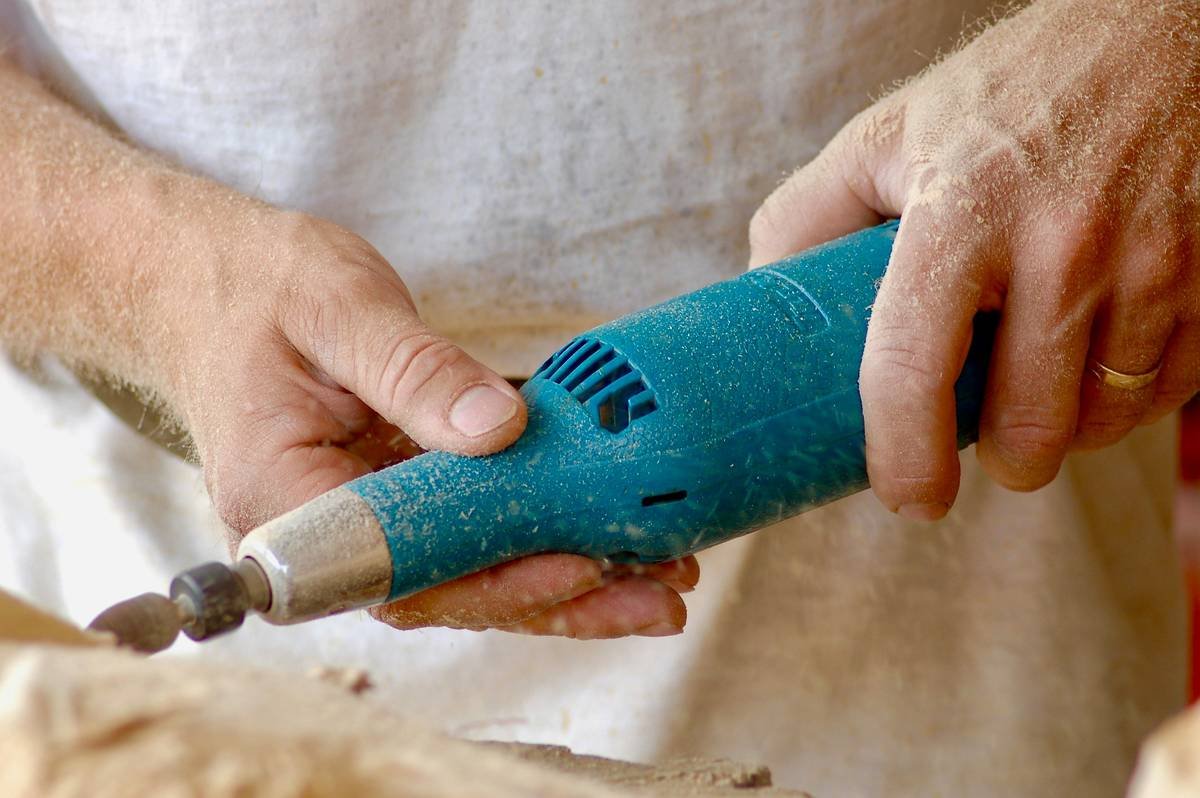
No. Hardware store rotary tools lack precise speed control, adequate torque for gels, and nail-safe ergonomics. They also run hotter, increasing burn risk. Invest in a purpose-built manicure nail drill.
How often should I replace drill bits?
Carbide bits last 3–6 months with weekly home use. Ceramic bits last longer (6–12 months) but are pricier. Discard immediately if you see chipping, wobbling, or reduced cutting efficiency.
Do nail drills damage natural nails?
Only if misused. Proper technique—light pressure, correct RPM, sharp bits—actually causes less trauma than aggressive manual filing. The key is consistency, not force.
What’s the quietest nail drill for apartment living?
The Beurer MP 61 (~45 dB) and MelodySusie Quiet Series (~48 dB) are whisper-quiet compared to standard models (60+ dB). Plug it in during laundry hours to camouflage the hum!
Conclusion
A manicure nail drill isn’t just another gadget—it’s a game-changer for anyone serious about healthy, flawless nails. With the right tool, technique, and respect for safety, you’ll skip salon markups, avoid common filing fails, and unlock professional results from your own vanity. Remember: it’s not about speed. It’s about control, consistency, and caring for your nails like the delicate canvases they are.
Now go forth—file wisely, sanitize religiously, and may your nails never lift again.
Like a Tamagotchi, your nail drill needs daily care… or it’ll beep sadly and die.