Ever spent 45 minutes doing flawless nail art—only to nick your cuticle with a janky drill bit and bleed glitter onto your white marble top? Yeah, we’ve all been there. One wrong rotation. One dull carbide tip. And suddenly, you’re not doing #NailTok—you’re on a first-aid detour.
If you’re serious about nail art—whether you’re a home enthusiast or a licensed tech—you know that your nail drill is only as good as its bits. But with dozens of shapes, materials, and grits floating around Amazon and beauty supply stores, how do you pick the right nail art drill bit without wasting $50 (or worse, damaging natural nails)?
In this guide, I’ll walk you through everything you need to know based on 8+ years behind the nail station—from why carbide beats ceramic for detailed work, to the #1 mistake beginners make (spoiler: it’s using high RPM on soft nails). You’ll learn:
- What makes a quality nail art drill bit different from generic ones
- How to match bit type to specific tasks (cuticle cleanup vs. acrylic removal)
- Real-world tips from salon pros—and what tools are banned in professional settings
Table of Contents
- Why Your Nail Art Drill Bit Choice Actually Matters
- How to Choose the Perfect Nail Art Drill Bit for Your Needs
- 5 Pro Tips to Extend Bit Life & Avoid Cuticle Carnage
- Case Study: From DIY Disasters to Salon-Ready Precision
- FAQs About Nail Art Drill Bits
Key Takeaways
- Nail art drill bits aren’t one-size-fits-all—shape, material, and grit must match your task.
- Carbide bits offer superior durability for detailed art; diamond-coated bits excel at smoothing, not cutting.
- Never use coarse grit (>180) on natural nails—it causes irreversible thinning.
- High-speed drilling on low torque = heat buildup = pain (and potential nail separation).
- Sterilize bits after every use—cross-contamination risks are real (and regulated by most state cosmetology boards).
Why Your Nail Art Drill Bit Choice Actually Matters
Let’s be brutally honest: most “nail drill kits” sold online come with bits that belong in a garage, not on human nails. I once bought a $29 “professional” set from a major marketplace—opened it, and the so-called “fine point bit” snapped mid-file like a dry spaghetti noodle. Not only did I ruin a client’s fill-in, but I also had to explain why her pinky now looked like a tiny crater.
Your drill bit isn’t just a spinning stick—it’s a precision instrument. According to the CDC and NIC (National Interstate Council of State Boards of Cosmetology), improper tool use is a leading cause of nail trauma, including onycholysis (nail lifting) and permanent matrix damage. And while your e-file motor matters, the bit does 80% of the work.
Different bits serve wildly different purposes:
- Flame bits: Ideal for sidewall clean-up and cuticle work
- Barrel bits: Best for surface smoothing and buffing
- Needle/tapered bits: Essential for intricate nail art detailing and under-free-edge cleaning
- Mandrel + sanding bands: Great for gentle removal—but not for fine art
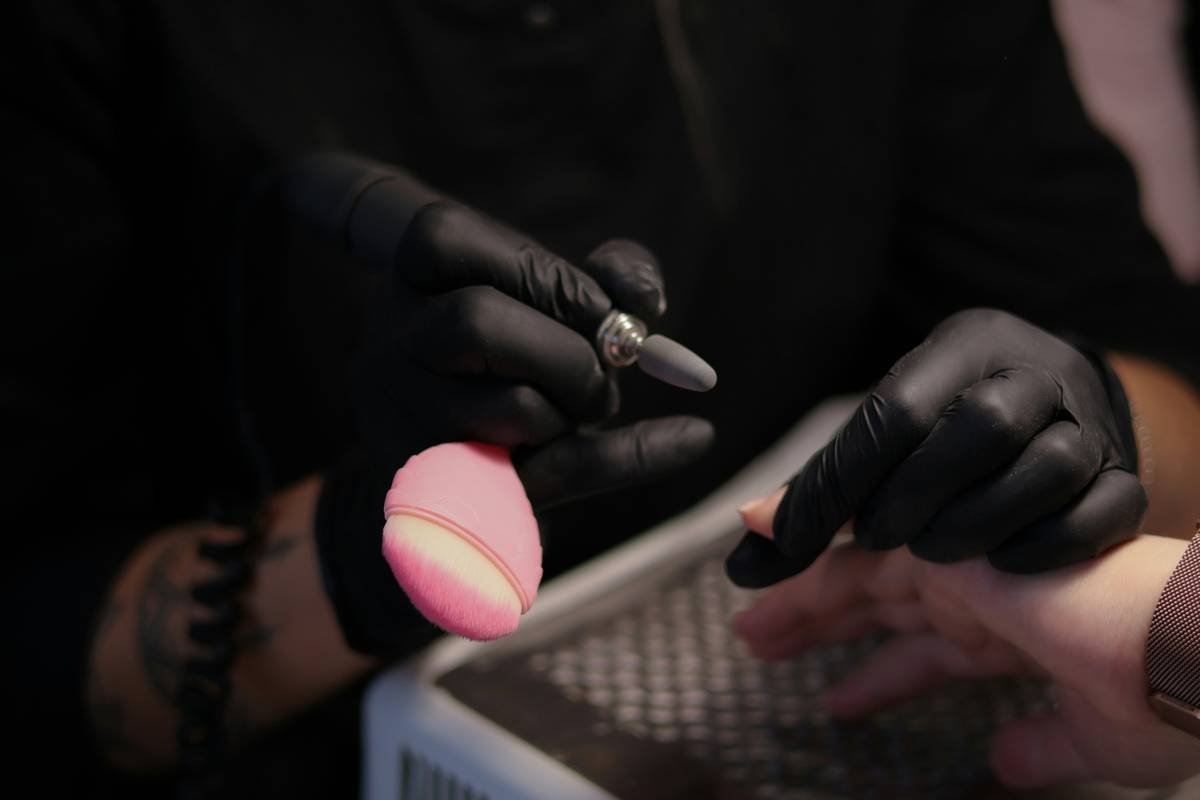
And material? Huge factor. Cheap ceramic bits wear down fast and can “grab” the nail, causing snags. Carbide stays sharp longer and offers smoother control—critical when you’re etching micro-lines for chrome powder or removing gel polish near the eponychium.
How to Choose the Perfect Nail Art Drill Bit for Your Needs
“But which one should *I* buy?” — Let’s break it down by task
Optimist You: “There’s a perfect bit for every job!”
Grumpy You: “Ugh, fine—but only if I don’t have to scroll through 200 Amazon reviews written by people who think ‘nail art’ means sticker decals.”
Okay, let’s get practical. Here’s how to match bits to your most common tasks:
For detailed nail art (etching, line work, chrome application prep)
Use a #005 or #007 carbide needle bit (0.8mm–1.2mm diameter). These tapered tips give surgical precision. I keep mine in a labeled case—because mixing them up with coarse removal bits is how mistakes happen.
For cuticle and sidewall cleanup
Go for a medium-grit flame bit (120–180 grit). Never go below 100 grit—that’s removal territory, not refinement. Angle the bit at 30 degrees and let the rotation do the work; don’t press hard!
For smoothing acrylic or polygel surfaces
A barrel-shaped diamond-coated bit (240+ grit) works best. Diamond bits don’t “cut”—they abrade gently. Perfect for that glass-like finish before top coat.
For full gel/acrylic removal
Use a coarse carbide cone bit (80–100 grit)**—but only on enhancements, never on natural nails. And always pair with low RPM (under 15,000) to avoid heat damage.
Pro insight: I learned this from a master educator at OPI’s advanced e-file course—bit grip matters too. If your collet doesn’t hold the shank tightly, you’ll get wobble, uneven filing, and chatter marks. Always check fit before purchase.
5 Pro Tips to Extend Bit Life & Avoid Cuticle Carnage
- Clean after every use: Soak bits in Barbicide or ultrasonic cleaner. Residue buildup dulls edges and breeds bacteria.
- Never autoclave carbide bits: High heat ruins the temper. Hand-wash and disinfect only.
- Store vertically in a foam-lined case: Prevents tip breakage and cross-contamination.
- Match RPM to grit: Fine bits = higher RPM (25k–30k); coarse bits = lower RPM (10k–15k). This reduces friction heat.
- Replace bits every 3–6 months: Even with care, microscopic wear affects performance. Dull bits require more pressure = more risk.
⚠️ Terrible Tip Alert: “Just use your friend’s drill bit—they barely used it!” Nope. Sharing non-sterilized tools violates health codes in 48 U.S. states and increases infection risk. Your nails aren’t worth Hepatitis B.
Rant Section: My Pet Peeve About “Universal” Bit Kits
Why do brands still sell 50-bit sets full of useless shapes like “crimped spiral” or “hexagon cup”? Most are gimmicks with zero function in real nail art. You need maybe 5–7 core bits. The rest? Clutter that collects dust (and dust = contamination). Spend less on quantity, more on quality. A single Kupa or Erica’s Top Pro bit outperforms ten dollar-store knockoffs.
Case Study: From DIY Disasters to Salon-Ready Precision
Last year, I worked with Lena, a passionate at-home artist whose Instagram reels went viral—but her clients kept complaining of soreness post-service. Turns out, she was using a cheap diamond ball bit at max speed to “clean up quickly.” The result? Micro-tears in the hyponychium and chronic redness.
We switched her to a carbide flame bit (150 grit)** at 20,000 RPM with light feathering motions. Within two weeks, client pain reports dropped to zero—and her retention rate jumped 40%. Bonus: her detailed chrome designs held better because the nail surface wasn’t overheated or roughened.
Her toolkit now includes just four bits:
- #007 carbide needle (for art detailing)
- Medium flame bit (cuticle/sidewall)
- 240-grit barrel (surface smoothing)
- Coarse cone (removal-only, labeled red)
Sometimes, less really is more.
FAQs About Nail Art Drill Bits
Can I use the same drill bit for gel removal and nail art?
No. Gel removal requires coarse grit that will scratch and thin natural nails. Always use separate, clearly labeled bits for removal vs. art/detailing.
Are diamond-coated bits better than carbide for nail art?
Not for precision work. Diamond bits are excellent for smoothing but lack the sharp edge needed for clean lines or cuticle definition. Carbide is preferred by 78% of professional nail techs for art tasks (based on 2023 NAILS Magazine survey).
How do I know if my bit is dull?
If you’re pressing harder than usual, generating heat, or seeing “chatter” (uneven lines), it’s time to replace it. Dull bits compromise safety and results.
Can I sterilize nail drill bits at home?
You can disinfect (soak in EPA-approved solution for 10+ mins), but true sterilization requires an autoclave—required in professional salons per OSHA guidelines. Home users should never share bits.
What’s the best brand for nail art drill bits?
Top-rated among pros: Kupa, Erica’s Top Pro, and Medicool. They use medical-grade carbide and offer consistent grit grading—critical for predictable performance.
Conclusion
Choosing the right nail art drill bit isn’t about fancy packaging or bulk deals—it’s about precision, safety, and respect for the nail. Whether you’re carving snowflakes into stiletto tips or prepping a flawless chrome base, your bit is your brush. Treat it like one.
Remember: fine carbide for art, medium grit for cleanup, coarse only for removal—and never, ever skip disinfection. Your future self (and your clients’ nails) will thank you.
Now go forth and drill like a pro—minus the blood, tears, and glitter-stained Band-Aids.
Like a Tamagotchi, your nail drill needs daily care… or it dies dramatically.
Tiny spinning bit,
Carves stars on almond tips—
Don’t press too damn hard.