You spend hours perfecting that delicate French tip or intricate chrome flake overlay—only to ruin the shape with a shaky file. Frustrating? Absolutely. Hand filing leaves ridges, uneven surfaces, and eats up precious time. Enter the nail design grinder: not just another gadget, but your secret weapon for salon-grade finish at home.
Why Traditional Filing Fails Modern Nail Art
Manual emery boards work fine for basic cleanup. But once you’re sculpting acrylics, smoothing gel extensions, or prepping for intricate nail art, friction and inconsistency become your enemies. And let’s be honest—your wrist gets tired after three nails.
Digital artists don’t sketch with crayons. So why should nail techs rely on 1980s tools for 2024 designs? The margin for error shrinks as trends demand sharper lines, thinner tips, and flawless symmetry. A single slip ruins an $80 set.
Mastering Your nail design grinder: A Step-by-Step Workflow
Forget “just plug and spin.” Professional results hinge on technique—not RPM alone.
Here’s how the pros do it:
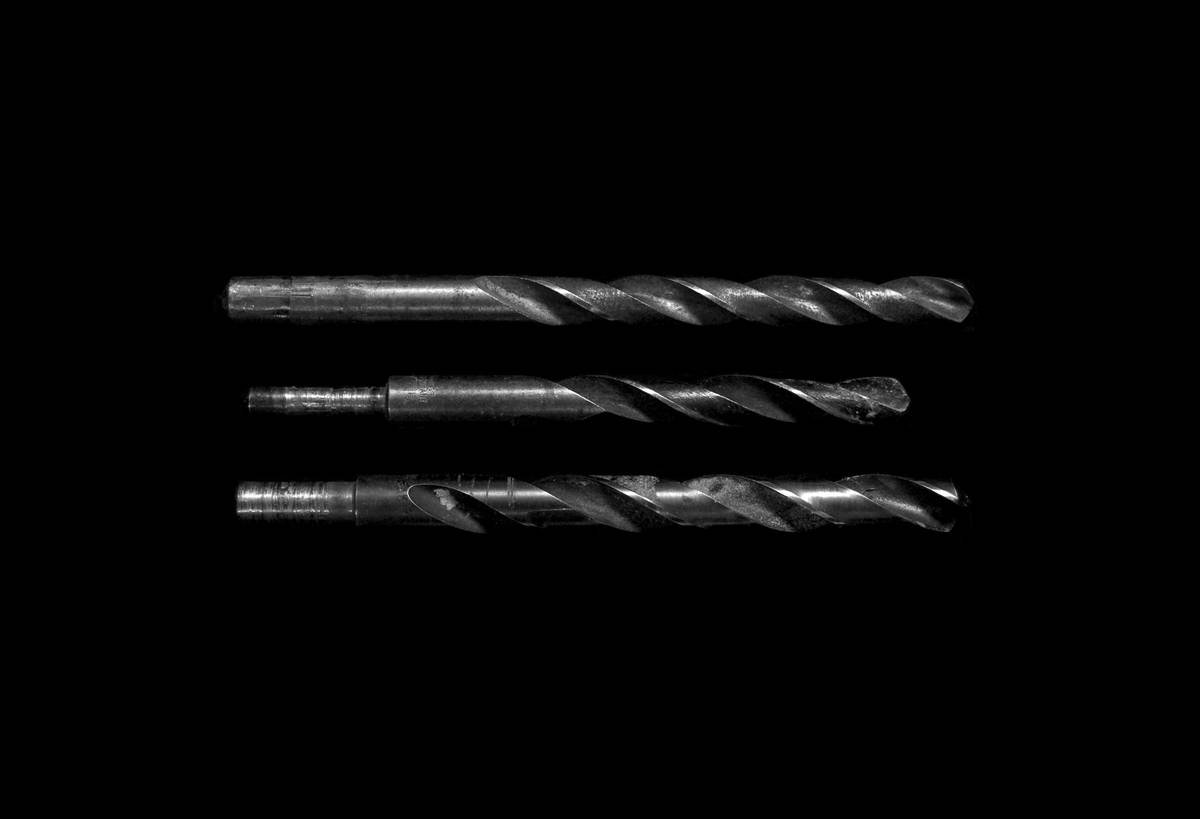
Select the Right Bit First
Carbide vs. diamond? Cone vs. barrel? It matters more than brand.
Use carbide for heavy shaping on acrylic; diamond-coated bits for gentle gel buffing.
Speed Isn’t Everything—Control Is
High speed = heat buildup = lifted product. Start low (5,000–10,000 RPM) for detail work. Crank it only for bulk removal—and never linger in one spot.
Angle and Pressure: The Invisible Variables
Hold your grinder at 45° to the nail plate. Feather-light pressure. Let the bit do the work. Push too hard? You’ll thin the nail dangerously or create hot spots.
| Task | Recommended Bit Type | Ideal RPM Range | Pressure Level |
|---|---|---|---|
| Acrylic Shaping | Carbide Tapered Cone | 15,000–25,000 | Moderate |
| Gel Smoothing | Diamond Barrel | 5,000–10,000 | Light |
| Cuticle Cleanup | Slim Flame Bit | 8,000–12,000 | Very Light |
| Tip Blending | Round Carbide | 12,000–18,000 | Medium-Light |
The Industry Secret Most Brands Won’t Tell You
Here’s the reality: most “salon-grade” drills sold online are rebadged OEM junk with inconsistent torque. The real differentiator isn’t wattage—it’s stall resistance. When your bit hits a thick apex, does the motor slow down or maintain speed? Cheap grinders stutter, causing chatter marks invisible until polish goes on.
And here’s what no tutorial mentions: clean your bits weekly with acetone AND a soft brush. Residual gel polymer builds up in the flutes, reducing cutting efficiency by 40% within two weeks. You think your tool is dull—but it’s just gunked up.
Frequently Asked Questions
Can a nail design grinder damage natural nails?
Yes—if used aggressively or with coarse bits. Always use light pressure and appropriate RPM. Never grind down to the nail bed.
How often should I replace grinder bits?
Every 3–6 months with regular use. Dull bits increase friction, heat, and risk of lifting. Replace immediately if they skip or vibrate abnormally.
Is a corded or cordless nail grinder better?
Corded offers consistent power for heavy-duty sculpting. Cordless suits mobile techs but may lack torque for acrylics. Choose based on your primary service type.

